Looking to try an easy, delish new vegetable side dish with dinner tonight?
I’ve got a yummy idea for you: Oven Roasted Broccolini!

I’m sharing this one with you to simplify your family’s dinner tonight.
It’s hard enough to follow a clean eating lifestyle these days, trying to think of healthy sides, night after night. So this one is about way more than the tasty side dish, created with very little effort.
(Though the fact that this recipe takes only 15 minutes is a fun plus!)
It’s that this shiny green veggie is so dang good for us!
The nutritional benefits of Broccolini are numerous, with it ranking high for both Vitamins C & A (both of which are super important for strengthening our immune system, helping our bodies in fighting off both virus-caused sickness and the common cold!) So important that we’re intentionally eating for immunity! Now, more than ever.
Oh and hey, did you know that getting enough Vitamin C through your foods is a great way to boost your body’s absorption of iron? (No? Ok, to be real, I didn’t either until I was researching for this post!) This is a really beneficial thing for all of us, but especially for those of us eating plant-based - as we’re possibly getting less iron into our bodies!
Here’s how to easily make it...
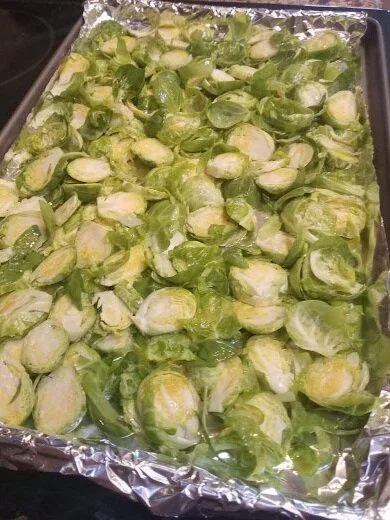
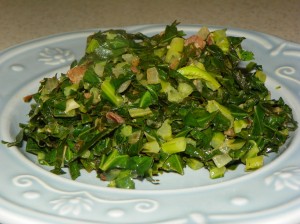
Oven Roasted Broccolini
Take 1 Bunch Broccolini (per 2-3 eaters) and wash, shake off water, and trim off about an inch from the end of the stalks.

Set the oven to 425 degrees and prepare a large cookie pan by lining with aluminum foil for easy cleanup.

Lay the Broccolini stalks around the pan, then drizzle generously with olive oil (may use your hands to mix the oil evenly into stalks) and grind fresh black pepper and pink salt over it.
Bake for around 10-15 minutes, or until crispy and browning on edges.
This is the “base recipe,” but you can always change it up, and add one of these fun variations on flavor:
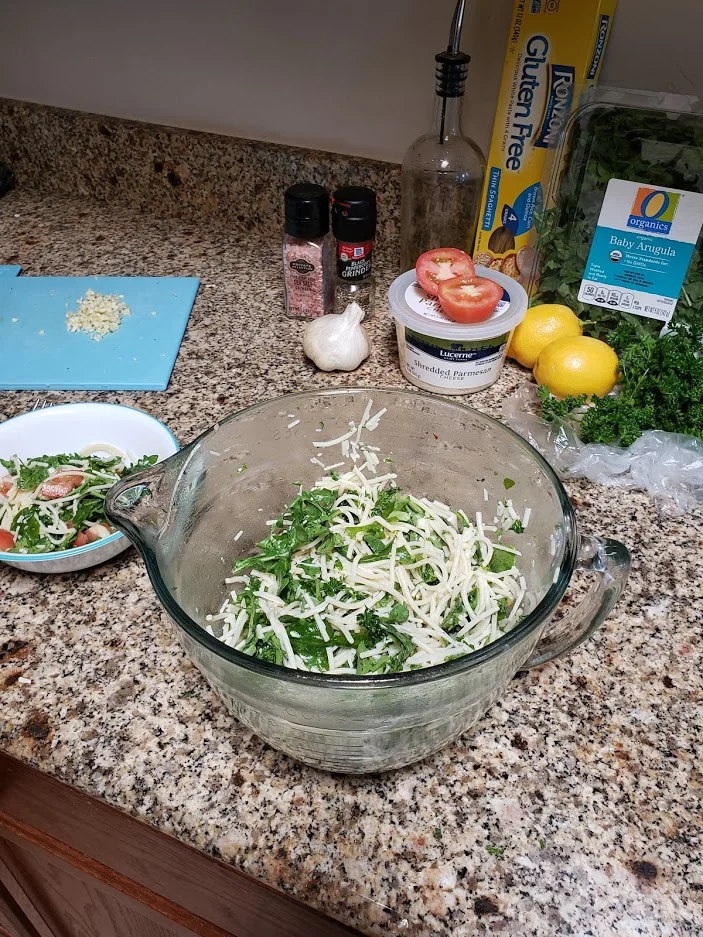
2 Tablespoons grated Parmesan cheese
Squeeze a half to whole fresh lemon over the Broccolini (to taste)
Mince 3-4 fresh cloves of garlic and sprinkle over it before baking
1 Sprinkle of preferred Chili powder, chili flakes, or small smear of chili paste mixed in well
Sprinkle handful shredded sharp cheddar cheese over it in final 3-5 minutes of baking
Well, are you inspired to try this easy, peasy recipe for dinner this week?
Looking for more recipes and ideas for clean, healthy living for your busy family? Join the conversation in our community!